


As your digital life grows, the amount of personal information that needs secure storage may get out of hand. An application with a flat hierarchy simply can’t cut it. It might take you a good minute to locate the password you need at the moment.
Locker allows you to create folders and add your passwords and notes to them for easier management.
You can separate your personal and work data. All items belonging to a current project can be put in one place. Folders also make sharing (and revoking access to) multiple related items a breeze.
This guide will show you how to create folders and store your items in them. This feature is available in all Locker plans.
How To Create New Folders In Locker
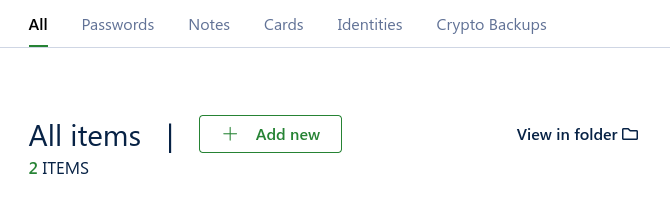
Open your vault, and select the Add new button in the tab All.
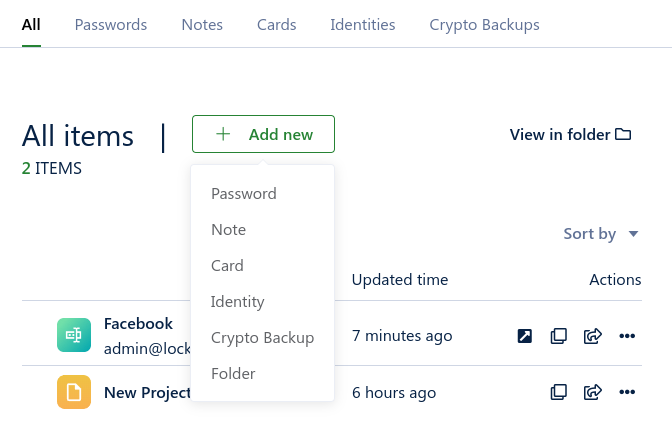
In the dropdown list, select Folder.
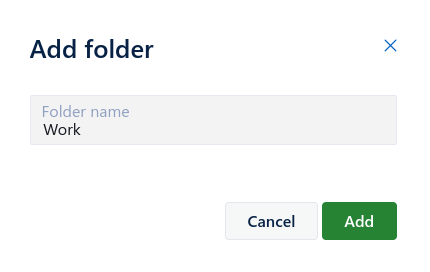
Enter the name of the folder, and select Add.
To verify its creation, select View in folder on the main screen. Your newly created folder should appear here. You can also turn this off to go back to the default listing view, which shows all the items in your accounts.

How To Add Passwords And Other Items To A Folders
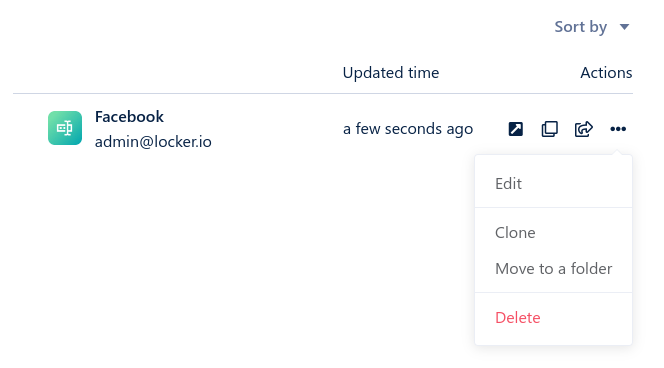
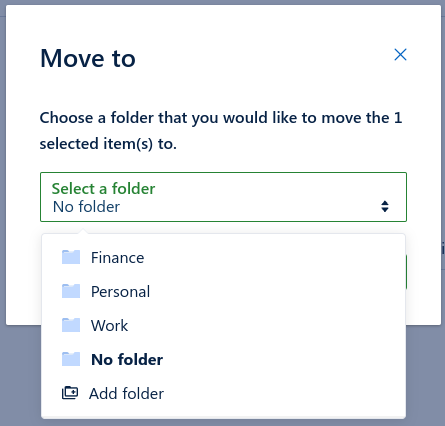
To add an existing item to a folder you have created, select the three-dot button of that item and select Move to a folder.
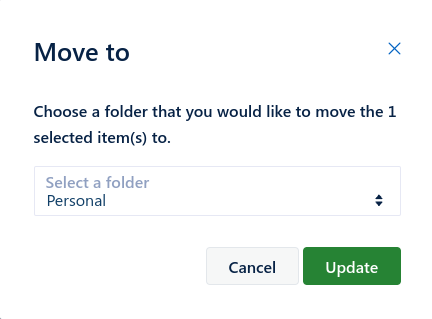
Choose the destination on the dropdown list, then select Update.
You can also set the folder for any item when creating it by choosing Select a folder near the bottom of the dialog.
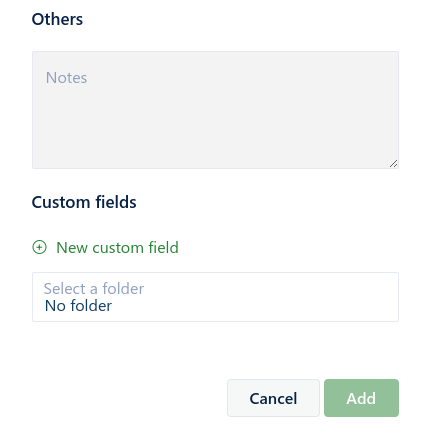
Select the folder you want to store the item.

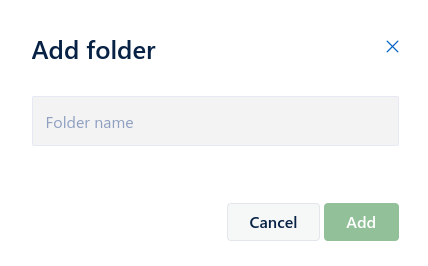
If you want to add the item to a new folder, select Add folder in the list above, enter the name in the box that pops up and select Add.
Summary
Your sensitive data should be kept tidy, so your future self can find the relevant information faster. Download Locker and store anything personal and important in different folders to organize and safeguard it at the same time.


